October 19, 2009
Foundation Repair, Part V: Finishing Up
Once the sill beam was repaired, it was time to fix all the trim and to replace the door whose failing started the whole foundation repair conversation. Once again, Sunny Brook Builders' carpenter Dan was in charge.
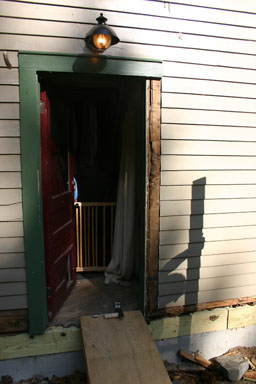
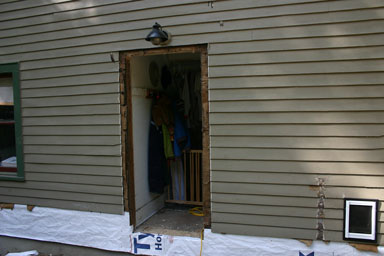
The first step was removing the trim around the old door, and then removing the door itself and its frame.
The new door - a steel door that's much sturdier though utterly lacking in the character of the old door - came as a pre-hung unit. Dan and Cordell installed it into the empty space.
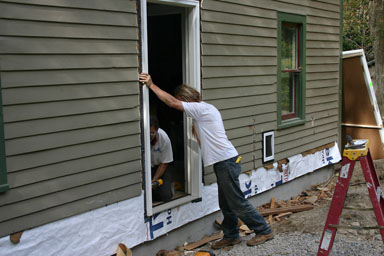
Installing the new steel door.
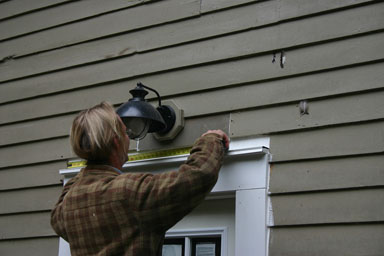
Once the door was in, it was time to work on the trim, including the flashing at the top which protects the trim from water.
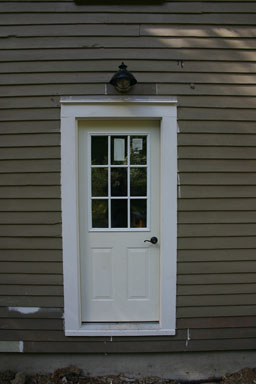
They also replaced and repaired all the trim that had been removed during the beam repair, leaving a primed surface it was my job to paint. So far, I've managed to do all the siding, but the cold weather and the election have made it hard to get to painting the door trim green and the door itself red.
About a week after this, the excavator came and put the soil back in place against the concrete. This finished the project for the contractor, and it was time for the last piece of the bill, which stayed within 10% of the estimate despite the complications on the sill beam.
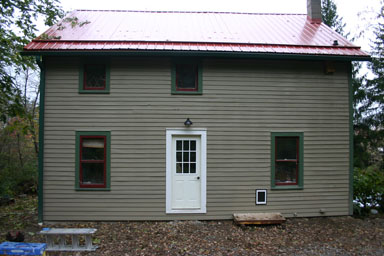
Still need to paint the door and the trim.
I've posted a lot more pictures in a gallery of pictures of the door and trim work. Also, if you want to see the work all the way through, here are links to the full set of stories:
Note on photos
