September 30, 2009
Foundation Repair, Part II: Drainage
The underlying problem with my foundation was water. I can't imagine trading life in Dryden for life in the desert, but it's a little hard on buildings.
Whoever built my house eighty years ago (maybe Lloyd Bell?) doesn't seem to have included any external drainage system at all. Instead, water flowed through a trench along the back and side walls of the basement, draining through a tarpaper pipe to the ditch out front.
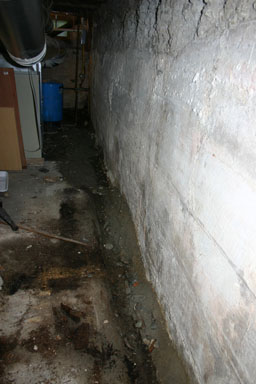
The trench inside my basement.
This approach had some drawbacks. I had two floods when the drainpipe plugged. The first was because of a screen that got plugged up, and the second because the roots of the maple tree by the road squashed the pipe. It also seems to have worked much better when the house had a stone foundation, some of which is still there for at least the back wall. When they put in the concrete wall, the only place water could come through into the trench was through an old well connection. (If there was enough pressure it would also well up through the slab or burst around the edges of other connections.)
Making sure that this project would last required giving water another place to go. That meant excavating around the south and west walls, and installing drains and pipes. To do that, Sunny Brook Builders brought in Cross Excavation & Auger. Two people, Daryl Cross and his son, with two machines, some pipe, straw, gravel, and sheeting managed to fix the heart of my house problem in a day.
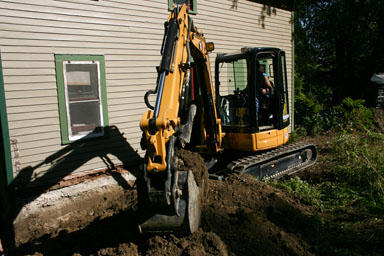
Digging a trench along the house.
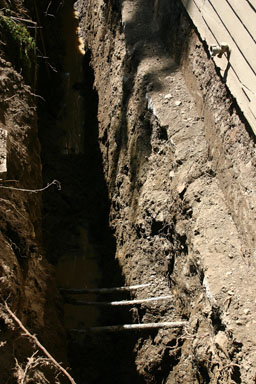
Well connections across the trench, going into the stone and concrete foundation at right.
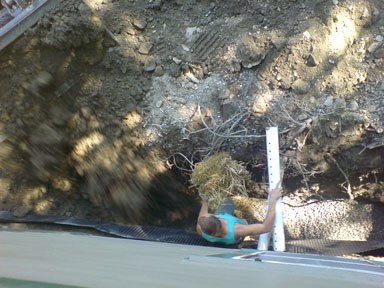
Among other things, they found the old well for the house - not the current 270' deep well that's still connected to the garden hoses, but a shallower well a few feet from the foundation. They dug a foot or so below the bottom of the foundation, and ran drains along the corner, back, and side of the house.
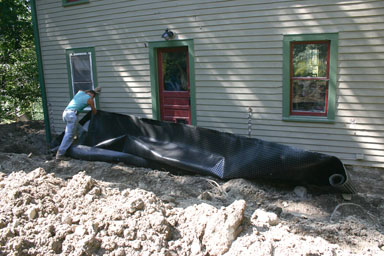
Putting the liner against the foundation.
The impact on the basement was immediate. The trench stopped running that day, and over the next few days the areas on the floor that had always stayed wet began drying out. My dehumidifier, which had been limping for a few years, seems finally to have stopped working entirely, but fortunately I don't need it nearly as much as I did. I'll likely replace it, but with a smaller and simpler one now that it will only have to deal with an ordinary basement, instead of a swamp.
The one downside, of course, was that heavy equipment flattens the area it works in. We knew this was coming, though, so made sure not to plant anything too exciting there. We have some work to do next year with those areas, but as long as we don't have to do this again for a long long time, it's well worth the destruction. (And they did a great job of avoiding some key plants on the edge of the area they needed to work in.)
They'll be returning to finish filling the excavated area once it's settled and the rain takes a pause, the last piece of work yet to be done. I've posted a much more extensive gallery of the drainage work if you'd like to see more.
If you want to see the work all the way through, here are links to the full set of stories:
Note on photos
