September 10, 2012
Woodstove, Part V, installation
Today was a huge day for the woodstove installation. It's not ready to use - it needs an inspection and the plumbing for the hot water jacket needs to be installed - but it's in the house now and the water jacket is in the stove.
I went over to Holy Smoke this morning, where Jared, Jesse, and Bob were getting the stove ready for delivery. They'd pulled it out of their warehouse, and were puzzling over the strange (and kind of duplicating) plumbing parts I'd left them last week.
Opening the stove was kind of like Christmas, or some kind of continuous Christmas where boxes hold more boxes. Everything was packed extremely well, and they put a lot into a tiny volume.
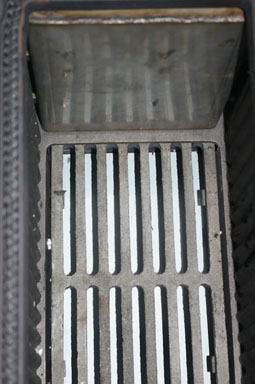
My biggest concern was the water jacket, which had only arrived the previous week. It had no instructions, but installation was supposed to be fairly obvious. The back of the stove had clear outlets for water, and there were knockouts going to the firebox. It was a bit tricky getting it in, as there were some pins that didn't want to let it pass, but with a little adjusting it sat in there just right.

Water jacket, installed at the back of the firebox.
I'd ordered some parts for converting from the 1" BSP (British Standard Pipe) connectors on the water jacket to American NPT fittings. That piece didn't really have to be installed before the stove went in, but I am very very very glad that we put the water jacket in at their shop rather than trying to do it in my livingroom later. We'll see what the plumbers think when we get there.
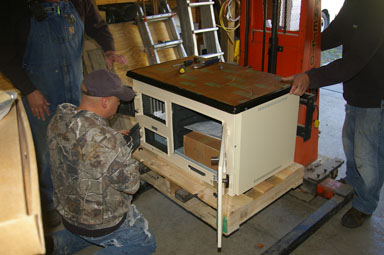
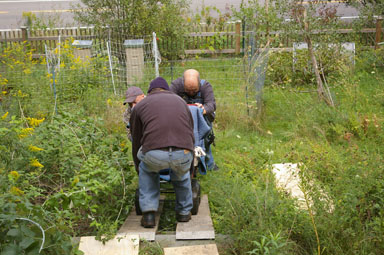
Once the water jacket was in, the next step was getting the stove to my house. That meant loading it on a cart, loading all that on a van, and then unloading it here.
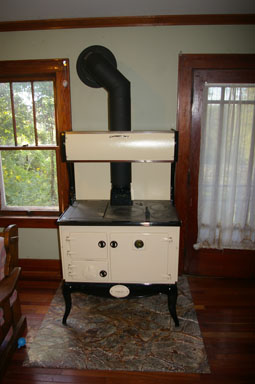
I marvelled at their skill in getting the stove off the cart and into position, and then assembling the legs, warming cabinet, backsplash, and stovepipe. There were a few fit and finish issues. Bob cut his finger on a rough edge on one of the backsplash supports, and the towel rack didn't fit because the factory had mis-drilled a support. (Lehmans is sending a replacement - that's one tiny thing I can fix myself.)
It was a long hard day, as you can see in the full gallery, but by the end of the day it was in. They may make it look easy in the pictures, but this is definitely not easy. Apart from the weight of the stove, which was a huge challenge in itself, I was extremely happy to have professionals with a ready shop, a detailed understanding of the insides of this particular stove, and the patience to deal with it. I do not recommend this as a do-it-yourself project.
There is still work to do before we can fire it up. Most critically, the water jacket needs to be connected to the plumbing. Given the uncertainty on whether the water jacket was even going to show up, I haven't yet gone around for estimates, but that's clearly our next task. Then, of course, we have a lot of learning how to use it.
Note on photos


Looks like you did an amazing job.
I am trying to do something similar, but can't seem to find exactly what I need.
Could you give me some information about the materials used? Mostly looking for the brand/type of wall thimble and stove pipe/ chimney liner you used.
Thank you,
Mark
It looks like the thimble and stove pipe are Intertek, from the Industrial Chimney Company of St. Jerome, Quebec. They're the double-wall stuff, and the installers had to be extra careful with it. Good luck!