June 22, 2012
Woodstove, Part II
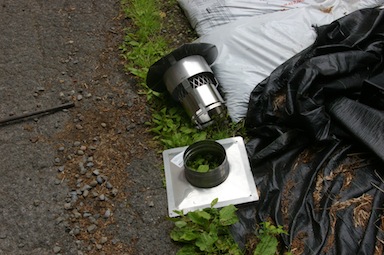
The earlier work on my woodstove installation mostly involved creating a path to the chimney from the livingroom. The next round of work was more of an upgrade, adding a stainless steel liner to the chimney and installing a top cap at the top and insulated pipe at the bottom.
The stainless steel liner was a last-minute addition to the project, not part of the original plan. I had my doubts about the need for it, but it seems that the extra angle involved because the chimney isn't centered on the wall space where the stove will go made it a more useful idea. I still have to figure out how this will work with cleaning, and will report back more as I get there.
The actual liner is a heavy-duty pipe that looks like an oversized laundry dryer duct, but is much much stronger.
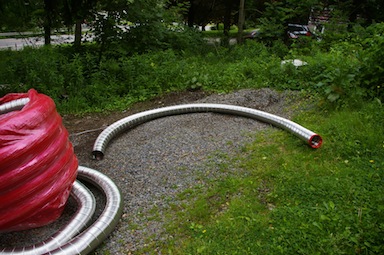
Piece of stainless steel chimney liner.
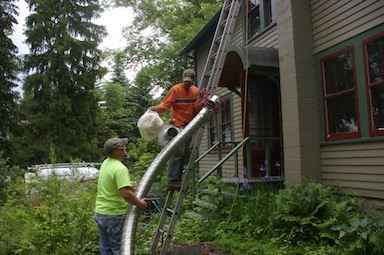
Once again, Jared and Jesse from Holy Smoke came by to do the installation. This time involved a lot more ladder work, as they had to insert the liner from the top and install a new chimney cap on the top. (I kept the old cap, which I'll move to the other unused chimney, once I find a way to get to the top. That one reaches three stories plus off the ground!)
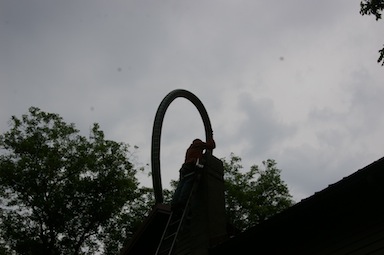
Putting the liner in the chimney.
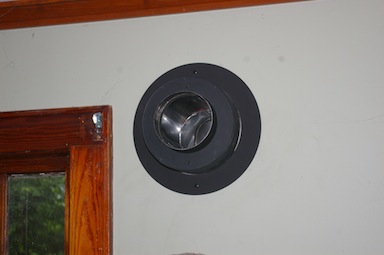
On the inside of the house, Jared had to assemble an insulated connector pipe with the T fixture at the bottom of the liner, and then put the thimble together.
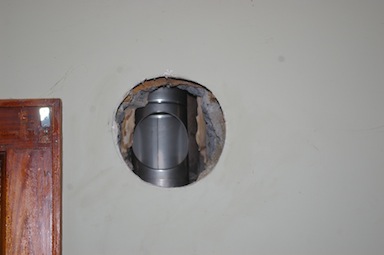
T connection, seen from inside the house..
That finishes the chimney infrastructure. The next step is getting the hearth installed, which is complicated by location and flooring. We're still waiting on the running hot water piece for the stove as well, so this won't be a speedy installation. That needs to go on the back of the stove before we put it in place. It may be a while before my next installment.
Again, I've posted a gallery of photos of the liner installation, if you want to see more of how this was done.
Note on photos
